

Wordpress
How to handle “WordPress memory limit” related errors
WordPress is a platform known for its high memory consumption. In many scenarios, you may encounter memory limit-related errors or warnings in WordPress and may need to...
Read more
Debug mode is used to identify and troubleshoot critical errors on a WordPress website. By default, debug mode is disabled because it can slow down the website. We can enable or disable debug mode manually or by using plugins. Manual Method to Enable Debug Mode in WordPress 1 Access your WordPress files using an FTP
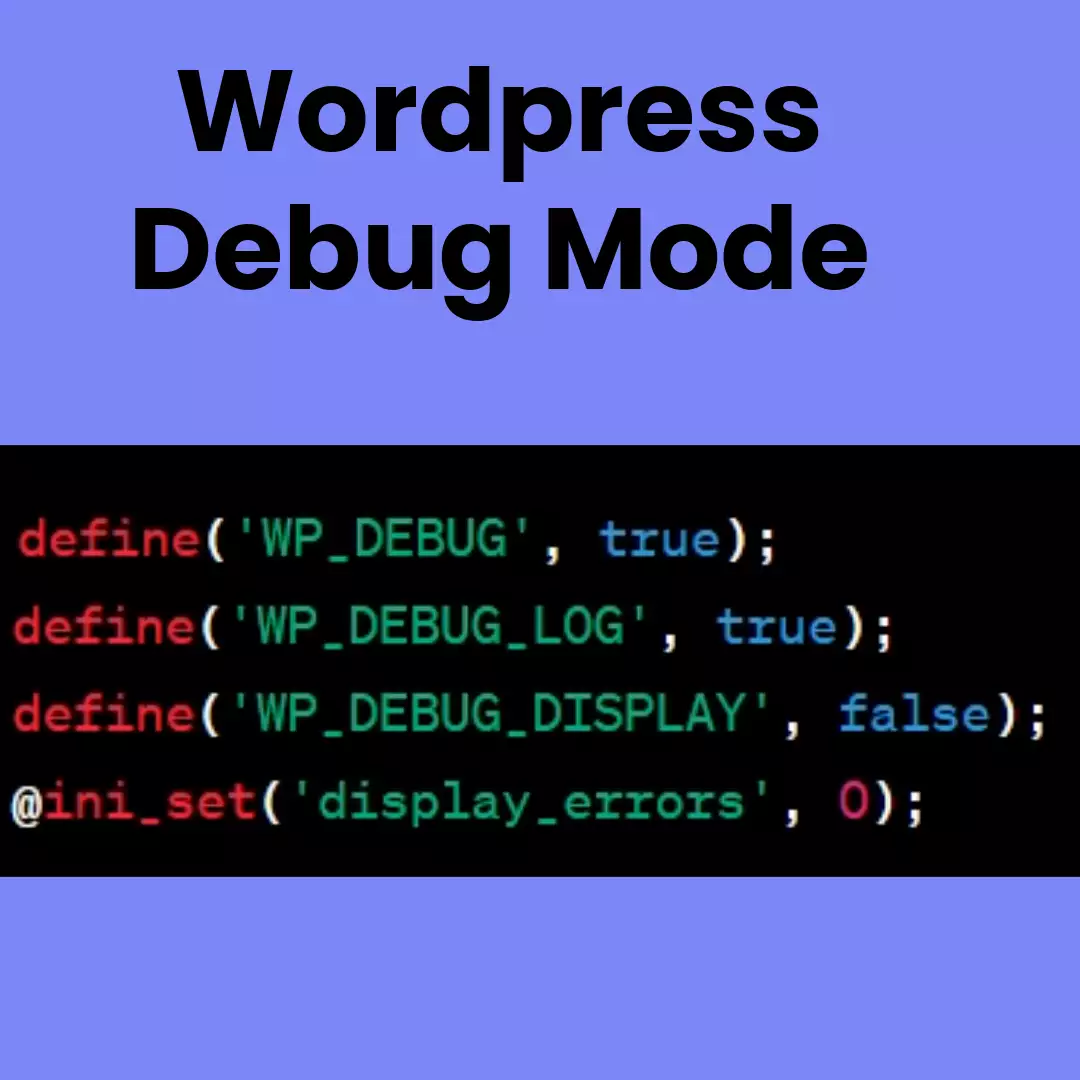
Debug mode is used to identify and troubleshoot critical errors on a WordPress website. By default, debug mode is disabled because it can slow down the website. We can enable or disable debug mode manually or by using plugins.
| 1 | Access your WordPress files using an FTP client or your hosting control panel’s file manager. |
| 2 | Locate the wp-config.php file, usually in the root directory. |
| 3 | Open wp-config.php in a text editor. |
| 4 | Find the line define( 'WP_DEBUG', false );. |
| 5 | Change false to true: define( 'WP_DEBUG', true ); |
| 6 | (Optional) Define additional constants for further debugging.// Enable debug logging |
| 7 | Save the wp-config.php file. |
| 1 | Go to Plugins > Add New in your WordPress dashboard. |
| 2 | Search for “debug” and install/activate a plugin like “WP Debugging” or “Query Monitor“. |
| 3 | Follow the plugin’s instructions to enable debug mode. |
Wordpress
WordPress is a platform known for its high memory consumption. In many scenarios, you may encounter memory limit-related errors or warnings in WordPress and may need to...
Wordpress
As part of our SEO profession, we need to work with WordPress-based websites regularly. In some situations, we may encounter a critical error message while accessing the...